How to use Humidity Domes for Seed Starting and Microgreens

Nurturing New Life: A Guide to Using Humidity Domes for Germination and Seedlings
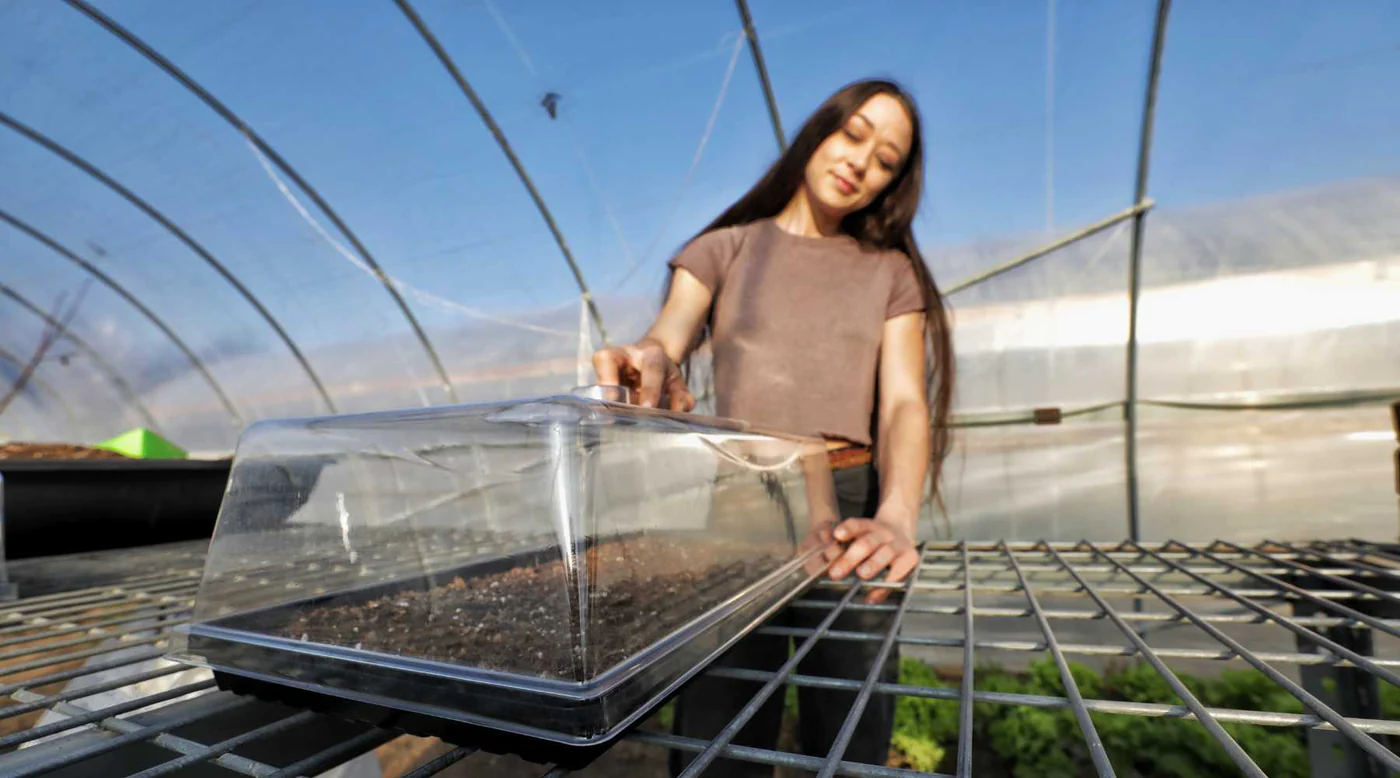
Humidity domes are a secret weapon in the arsenal of any gardener, offering a controlled environment for germinating seeds and nurturing delicate seedlings. By trapping moisture and warmth, they create a mini-greenhouse that optimizes germination rates and promotes healthy growth. But how exactly do you use them, and for what types of seeds are they most beneficial?
Stages of Growth and Dome Usage
Germination: This is where the magic happens. After sowing your seeds in a well-draining potting mix, dampen the soil and place the humidity dome on the tray. The dome traps the moisture released from the soil, creating a humid microclimate that mimics the natural environment many seeds need to germinate.
Monitor and Adjust: During this stage, consistent moisture is key, but avoid overwatering. Check the soil daily. If condensation builds up excessively on the dome, it indicates too much moisture, so briefly remove the dome to allow for some airflow.
Seeing Green: Once seedlings emerge, typically within a few days to two weeks, it's time to transition them away from the dome. Seedlings need good airflow to prevent leggy growth and avoid mold issues. Gradually introduce ventilation by opening vents on the dome (if available) or propping it up slightly. You can then remove the dome completely within a day or two.
Humidity Management: Finding the Sweet Spot
Humidity domes excel at maintaining consistent moisture, but it's crucial to find the balance. Too much moisture can lead to mold growth, which can harm your seedlings. Here are some tips:
- Use the right size dome: Ensure the dome fits snugly on the tray to minimize moisture loss.
- Monitor condensation: Regularly check the dome for excessive condensation. If droplets form and run down the sides, briefly remove the dome for ventilation.
- Light misting: If the soil feels dry to the touch, lightly mist the surface instead of soaking it.
Mold Control: Prevention is Key
Mold thrives in warm, humid environments. Here's how to keep it at bay:
- Start with clean supplies: Sterilize your trays, soil, and tools before planting to minimize the chance of introducing mold spores.
- Proper airflow: Once seedlings emerge, introduce ventilation as described earlier.
- Don't overwater: Overwatering is a major culprit for mold growth. Ensure the soil is moist but not soggy.
- Thin overcrowded seedlings: Dense plantings can trap moisture and create ideal conditions for mold.
Environmental Monitoring: Keeping an Eye on Things
Maintaining optimal conditions is key to success. Here's what to monitor:
- Temperature: Most seeds germinate best within a specific temperature range. Research the ideal temperature for your chosen seeds and use a heat mat if necessary.
- Light: Seedlings need light for healthy growth. Once the dome comes off, position your tray under a grow light or near a sunny window.
Seeds that Love Humidity Domes
- Warm-season vegetables: Tomatoes, peppers, eggplants, and okra benefit from the warm, humid environment during germination.
- Tiny seeds: Small seeds like lettuce, spinach, and herbs often have lower germination rates. Humidity domes help retain moisture and create ideal conditions for them to sprout.
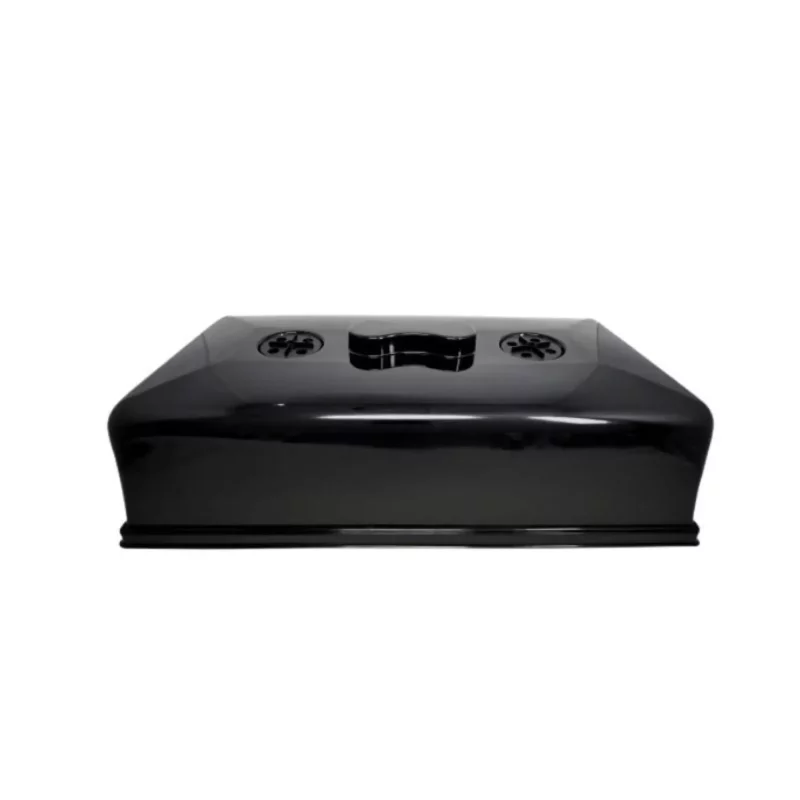
- Light-sensitive seeds: Some seeds, like lettuce, prefer darkness during germination. You can use a blackout dome, which is a regular humidity dome with a light-blocking cover.
Seeds Less Enthusiastic about Domes
- Large seeds: Large seeds like beans and peas have their own moisture reserves and typically don't require the intense humidity of a dome.
- Dry-climate seeds: Seeds from desert plants or those that prefer drier conditions may not do well in the high humidity of a dome.
By understanding the role of humidity domes and using them strategically, you can significantly improve your germination rates and nurture healthy seedlings for your garden or microgreen endeavors. Remember, consistent monitoring and adjustments are key to creating the perfect environment for your seeds to thrive. Happy growing!


