Getting Started with Sprouting: A Beginner’s Guide

Introduction
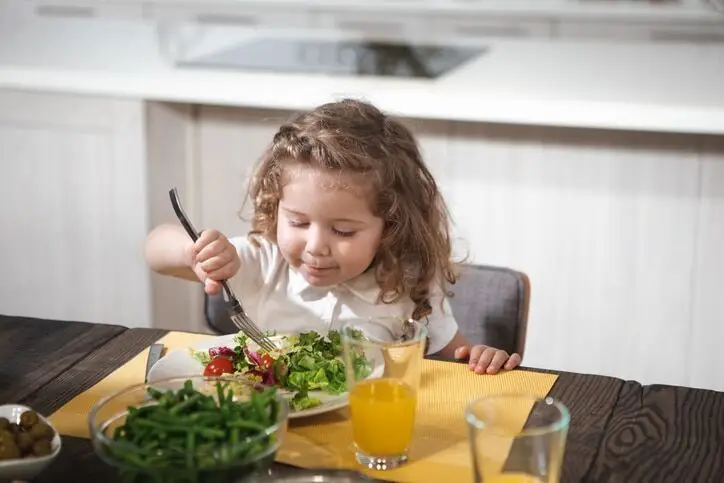
Sprouting is a simple and rewarding practice that allows you to grow your own fresh, nutritious sprouts at home. Whether you’re interested in adding a new dimension to your culinary repertoire or seeking to enhance your diet with a vibrant source of vitamins and minerals, sprouting is an excellent way to do so. In this beginner’s guide, we’ll walk you through the basics of sprouting, from selecting the right seeds to nurturing and harvesting your sprouts. Let’s dive in!
- Why Sprout? Sprouting is not only a fun and satisfying activity but also a fantastic way to boost your nutrient intake. As seeds germinate and sprouts emerge, they undergo a transformative process that increases their nutritional value. Sprouts are packed with essential vitamins, minerals, enzymes, and antioxidants, making them a nutrient-dense addition to salads, sandwiches, stir-fries, and more. By sprouting at home, you have control over the quality and freshness of your sprouts, ensuring optimal flavor and nutrition.
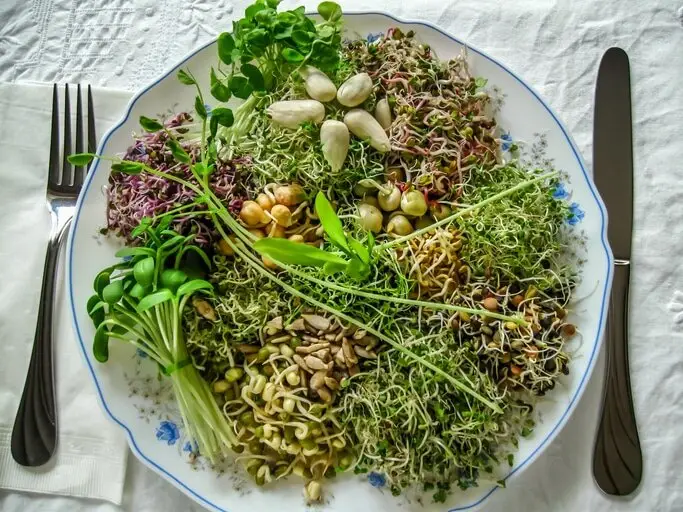
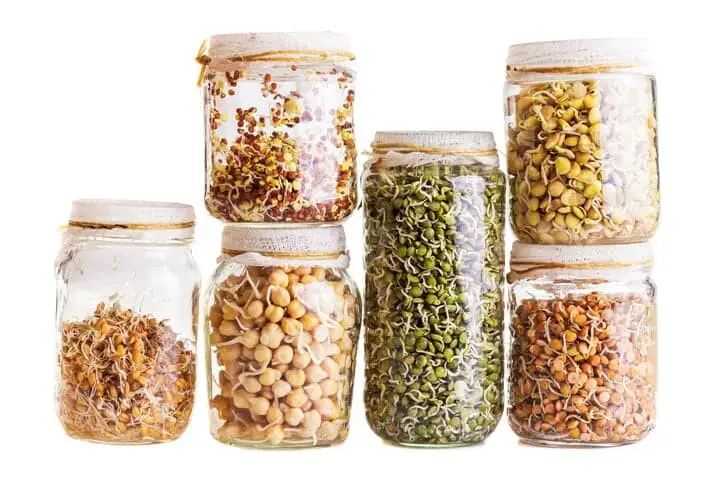
- Choosing Seeds for Sprouting: The first step in sprouting is selecting the right seeds. While there are numerous seeds suitable for sprouting, some popular choices for beginners include alfalfa, broccoli, mung beans, radish, and lentils. Ensure that you purchase seeds specifically labeled for sprouting to guarantee their viability and cleanliness. Look for organic, untreated seeds from reputable suppliers to ensure the highest quality.
Equipment and Supplies: Getting started with sprouting requires minimal equipment and supplies. Here are the essentials:
-
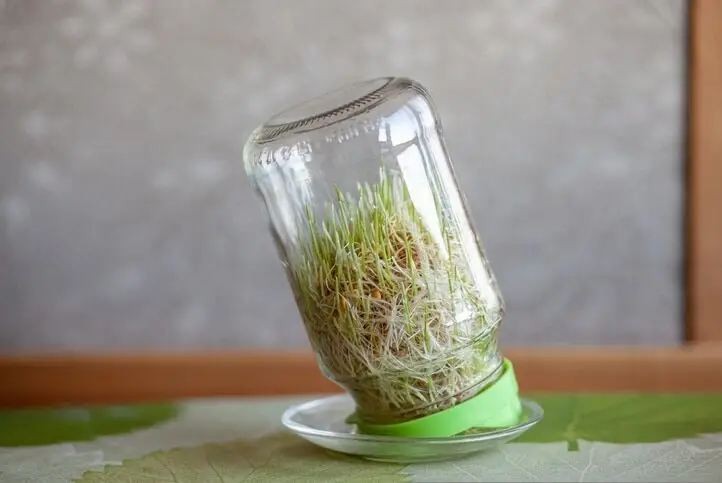
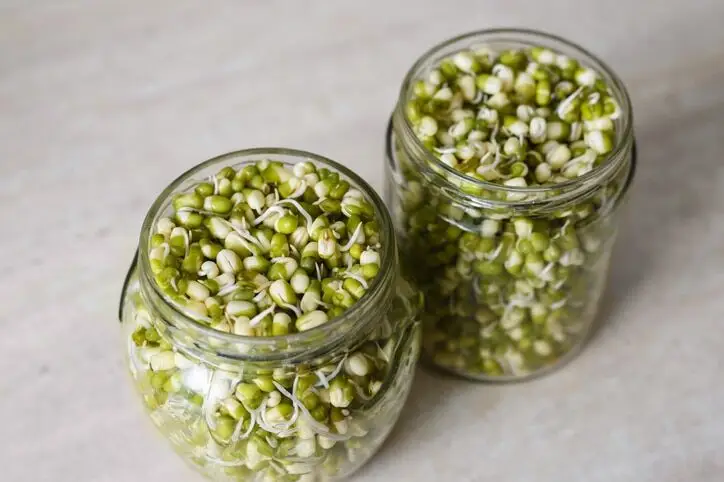
- Sprouting container: Choose a container specifically designed for sprouting, such as a jar with a mesh lid, a sprouting tray, or a dedicated sprouting kit.
- Seeds: As mentioned earlier, select the seeds of your choice for sprouting.
- Water: Use filtered water or water that has been left to sit for 24 hours to remove chlorine.
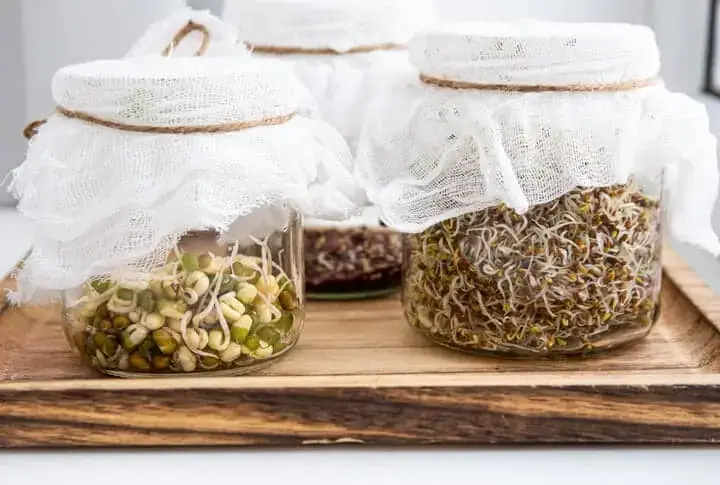
- Light cover: A kitchen towel, cheesecloth, or specialized sprouting lid can be used to cover the sprouting container.
- Rinse bottle or strainer: A rinse bottle or a fine-mesh strainer is handy for rinsing sprouts.
The Sprouting Process
Now let’s walk through the general steps of sprouting:
a. Soaking: Begin by rinsing the seeds thoroughly. Place the seeds in your sprouting container and add enough water to cover them generously. Let them soak for the recommended time, typically 6 to 12 hours, depending on the seed variety.
b. Draining: After the soaking period, drain the water from the container. Use a mesh lid or cover with a light cover and invert the container to allow proper drainage. Ensure that excess water can escape to prevent mold or bacterial growth.
c. Rinsing: Rinse the seeds with fresh water 2-3 times a day, ensuring that all seeds are thoroughly rinsed. Gently shake the container or swirl the seeds in water to remove any debris or residue.
d. Draining and Ventilation: After each rinse, ensure proper drainage by inverting the container and allowing any excess water to escape. Proper ventilation is crucial to prevent excess moisture, which can lead to spoilage.
e. Germination and Growth: Place the sprouting container in a well-ventilated area away from direct sunlight. Different seeds have varying germination times. As the sprouts begin to grow, they will require exposure to indirect sunlight to develop chlorophyll and turn green. Be sure to check the specific requirements for the seeds you’re sprouting, as some may require darkness for optimal growth.
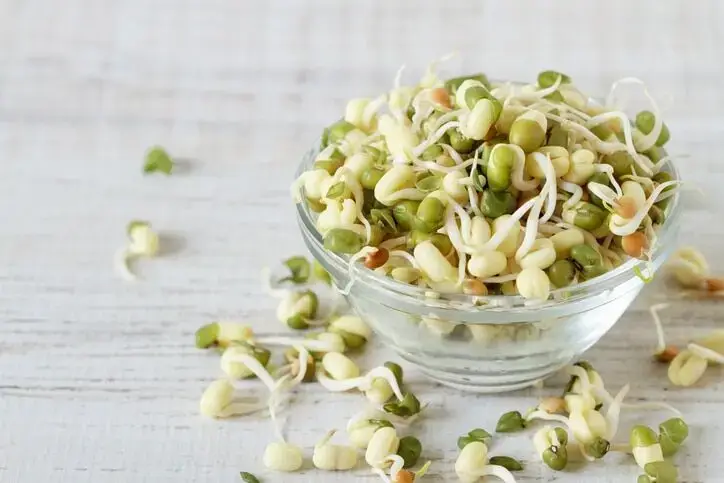
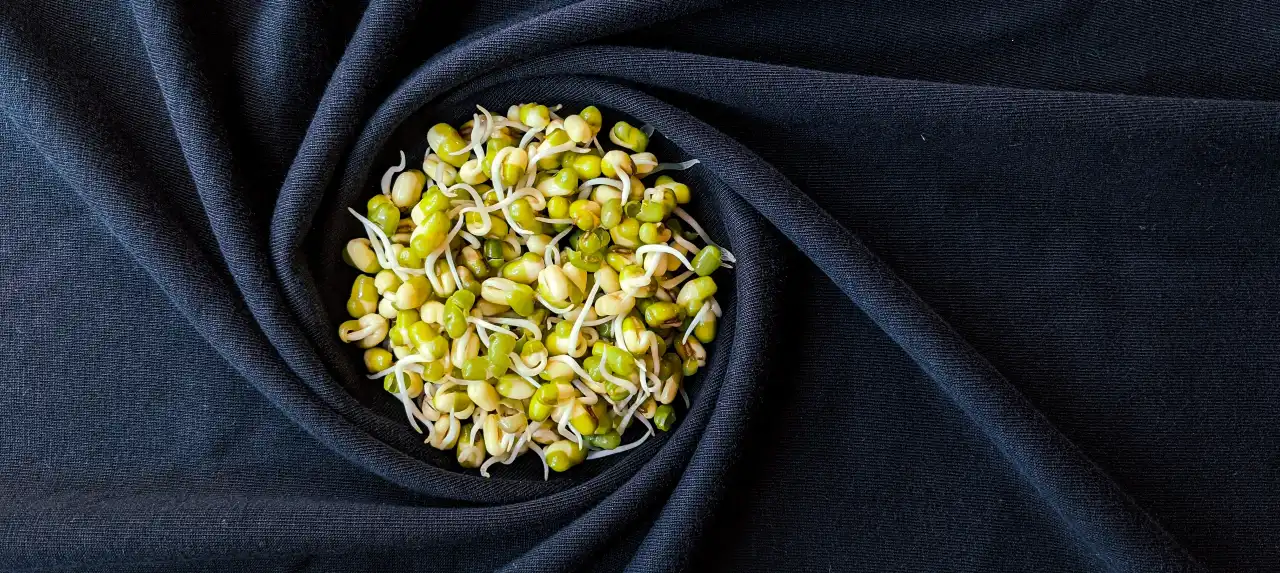
f. Harvesting: Once the sprouts have reached the desired length, typically 2 to 7 days after the initial soak, it’s time to harvest. Gently remove the sprouts from the container, and rinse them thoroughly to remove any seed coats or debris. Pat them dry using a clean kitchen towel or paper towels before storing or consuming.
Safety and Hygiene
To ensure the safety and quality of your sprouts, it’s important to follow some safety guidelines:
-
- Cleanliness: Wash your hands thoroughly before handling sprouts and sterilize your sprouting containers before each use to minimize the risk of bacterial contamination.
- Water quality: Use filtered water or water that has been left to sit for 24 hours to remove chlorine. Avoid using water that may be contaminated, such as well water or water from untrusted sources.
- Seed quality: Purchase seeds from reputable suppliers that specifically label their seeds for sprouting. Avoid using seeds meant for planting or cooking, as they may be treated with chemicals or have lower germination rates.
- Storage: Store sprouts in clean, airtight containers in the refrigerator to maintain their freshness. Consume them within a few days to maximize their nutritional value and minimize the risk of spoilage.
Further Resources
If you’re looking to expand your knowledge on sprouting techniques and find more recipe ideas, there are several reliable online resources available:
-
- SproutPeople (www.sproutpeople.org): This comprehensive website offers a wealth of information on sprouting, including detailed instructions, troubleshooting tips, and a wide variety of sprouting seeds to choose from.
- The Sprout House (www.thesprout house.com): This website provides valuable resources for beginners, including a step-by-step guide to sprouting, nutritional information, and sprouting recipes.
- YouTube: Search for instructional videos such as “Sprouting 101: A Beginner’s Guide” by Sprout House or “Easy Sprouting Techniques for Beginners” by GrowVeg to guide you through the sprouting process visually.
Conclusion
Embarking on a sprouting journey can be an exciting and rewarding experience. You can enjoy a constant supply of fresh and nutritious sprouts in your home by selecting the right seeds, following proper sprouting techniques, and ensuring hygiene and safety. Experiment with different seeds, explore various recipes, and incorporate sprouts into your favorite dishes to take full advantage of their vibrant flavors and health benefits. Happy sprouting!
Always consult reputable sources and adapt the techniques to your specific needs and preferences. With practice, you’ll become more confident and skilled in the art of sprouting. Enjoy the journey of growing your own sprouts and reaping the rewards of a nutrient-rich addition to your meals!
References
The references provided here are for informational purposes only.
- SproutPeople (www.sproutpeople.org)
- The Sprout House (www.thesprouthouse.com)
- “How To Sprout Anything” – YouTube video below.
- “How to Sprout EASILY for 25 Cents a Day! Jar Growing Method for Beginners” – YouTube video below.
Please note that the provided references are not exhaustive, and exploring additional sources for a comprehensive understanding of sprouting techniques and practices is always recommended.
Remember to have fun, be curious, and enjoy the sprouting journey!
Disclaimer
The information provided in this article is for educational and informational purposes only and is not intended as medical advice. It is not a substitute for professional medical advice, diagnosis, or treatment. Always seek the advice of a qualified healthcare provider with any questions you may have regarding a medical condition. The author and publisher of this article are not responsible for any adverse effects or consequences resulting from the use of any suggestions, preparations, or procedures described in this article.
https://youtu.be/1mbR5xcO8aIhttps://www.youtube.com/watch?v=qynti1u9ywE