Sprouting at Home: Tips for Successful Indoor Sprouting

Introduction
Sprouting at home is an enjoyable and rewarding way to grow fresh, nutritious sprouts right in your own kitchen. Whether you have limited outdoor space, want to have a year-round supply of sprouts, or simply enjoy the satisfaction of cultivating your own food, indoor sprouting is a great option. In this article, we’ll provide you with valuable tips and techniques to ensure successful indoor sprouting. From selecting the right seeds to providing optimal growing conditions, let’s explore how you can become a successful sprouter in the comfort of your home.
Choose the Right Seeds
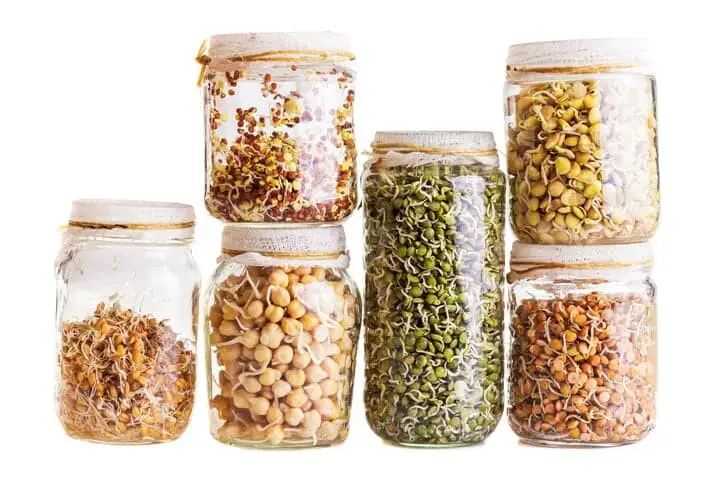
The first step to successful indoor sprouting is selecting high-quality seeds that are specifically labeled for sprouting. Popular sprouting seeds include alfalfa, broccoli, mung beans, radish, and lentils. Make sure to source your seeds from reputable suppliers to ensure their viability and cleanliness. Organic and non-GMO seeds are preferable, as they offer the best quality and nutritional value.
Gather the Necessary Equipment: To get started with indoor sprouting, you’ll need a few essential items:
-
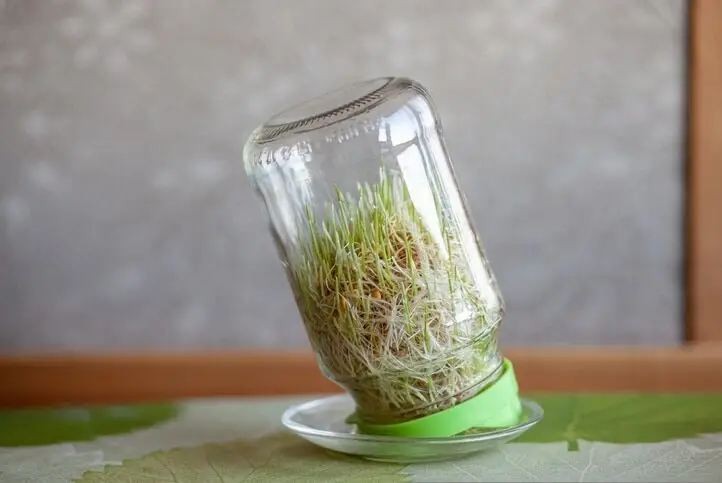
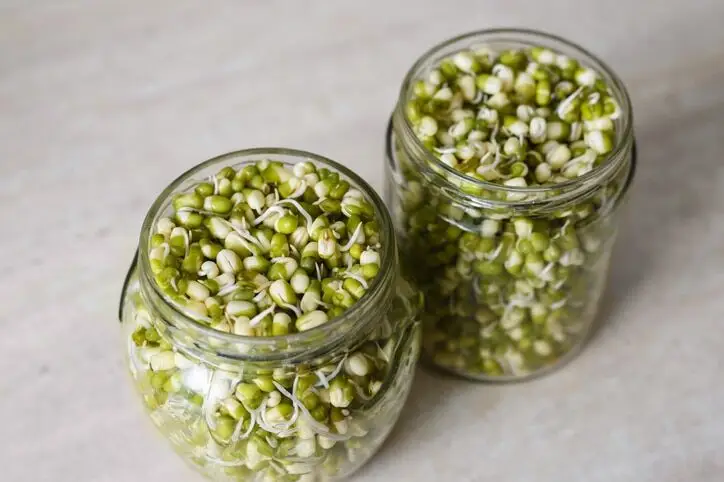
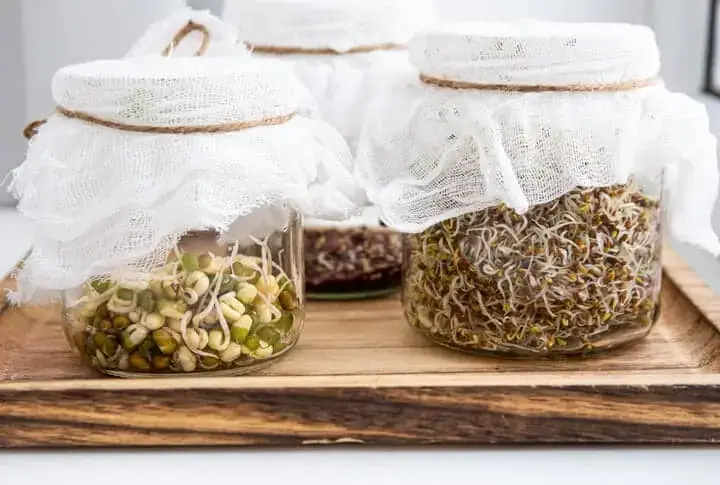
- Sprouting container: Choose a container suitable for sprouting, such as a wide-mouthed jar, a sprouting tray, or a dedicated sprouting kit. Ensure that the container allows for proper drainage and airflow.
- Seeds: As mentioned earlier, select the seeds of your choice for sprouting.
- Water: Use filtered water or let tap water sit for 24 hours to remove any chlorine.
- Light cover: A kitchen towel, cheesecloth, or specialized sprouting lid can be used to cover the sprouting container and protect the sprouts from dust and debris.
- Rinse bottle or strainer: A rinse bottle or a fine-mesh strainer is useful for rinsing sprouts thoroughly.
Soaking and Rinsing
The sprouting process begins with soaking and rinsing the seeds. Follow these steps:
a. Soaking: Place the desired amount of seeds in your sprouting container and add enough water to cover them generously. Allow the seeds to soak for the recommended time, usually 6 to 12 hours, depending on the seed variety. Soaking softens the seed coat and initiates the germination process.
b. Draining: After the soaking period, drain the water from the container using a mesh lid or by covering the container with a light cover and gently tipping it to remove excess water. Proper drainage is crucial to prevent mold or bacterial growth.
c. Rinsing: Rinse the seeds with fresh water 2 to 3 times a day, ensuring that all seeds are thoroughly rinsed. Use a gentle stream of water or gently swirl the seeds in water to remove any debris or residue. Proper rinsing promotes hydration and prevents the seeds from drying out.
Provide Optimal Growing Conditions
To ensure successful indoor sprouting, it’s important to create the right environment for your sprouts to thrive. Consider the following factors:
a. Temperature: Most sprouts prefer temperatures between 18 to 24°C (65 to 75°F) for optimal growth. Avoid exposing the sprouts to extreme temperatures or direct sunlight, as they can lead to premature wilting or damage.
b. Light: While some sprouts benefit from exposure to indirect sunlight during the later stages of growth, many sprouts do well in a partially shaded or dark environment. Experiment with different lighting conditions to find what works best for the seeds you are sprouting.
c. Ventilation and Airflow: Proper ventilation is essential for successful sprouting. Ensure that your sprouting container has adequate airflow to prevent excess moisture buildup, which can lead to mold or bacterial growth. Avoid sealing the container completely and opt for a light cover that allows for airflow while protecting the sprouts.
d. Humidity: Sprouts thrive in a humid environment, but excessive moisture can lead to rot or spoilage. Maintain a balanced level of humidity by rinsing the sprouts thoroughly and ensuring proper drainage. If necessary, use a spritzer bottle to mist the sprouts with water to maintain moisture levels.
e. Growing Space: Allow sufficient space for your sprouts to grow and expand. Overcrowding can inhibit proper airflow and lead to the development of mold or bacteria. Spread the seeds evenly in your sprouting container and avoid overcrowding.
Timing and Harvesting
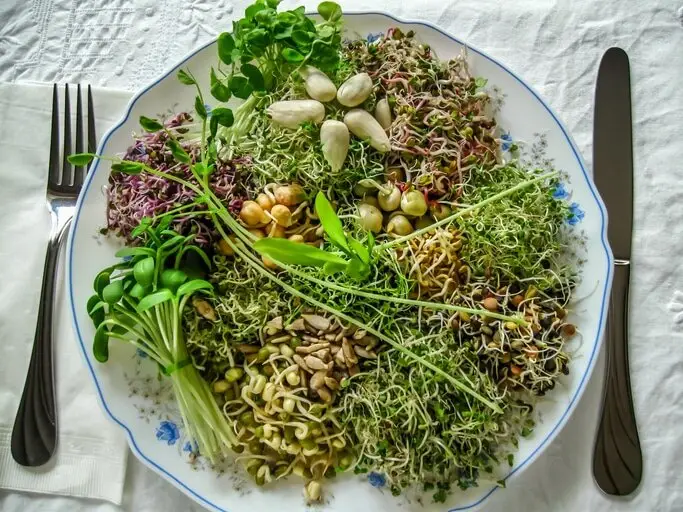
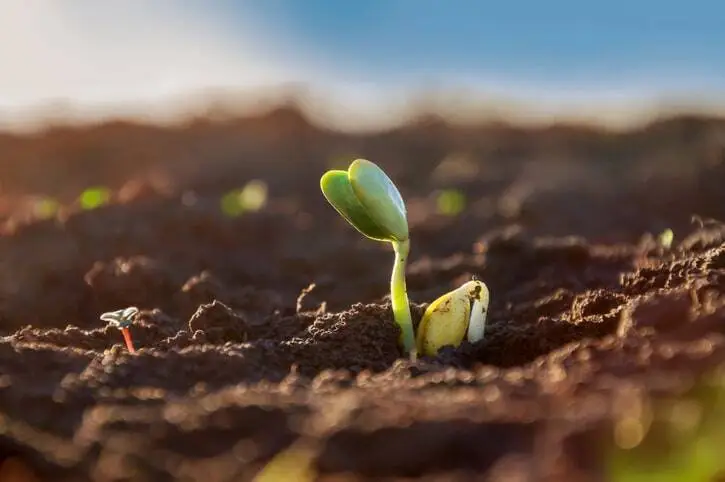
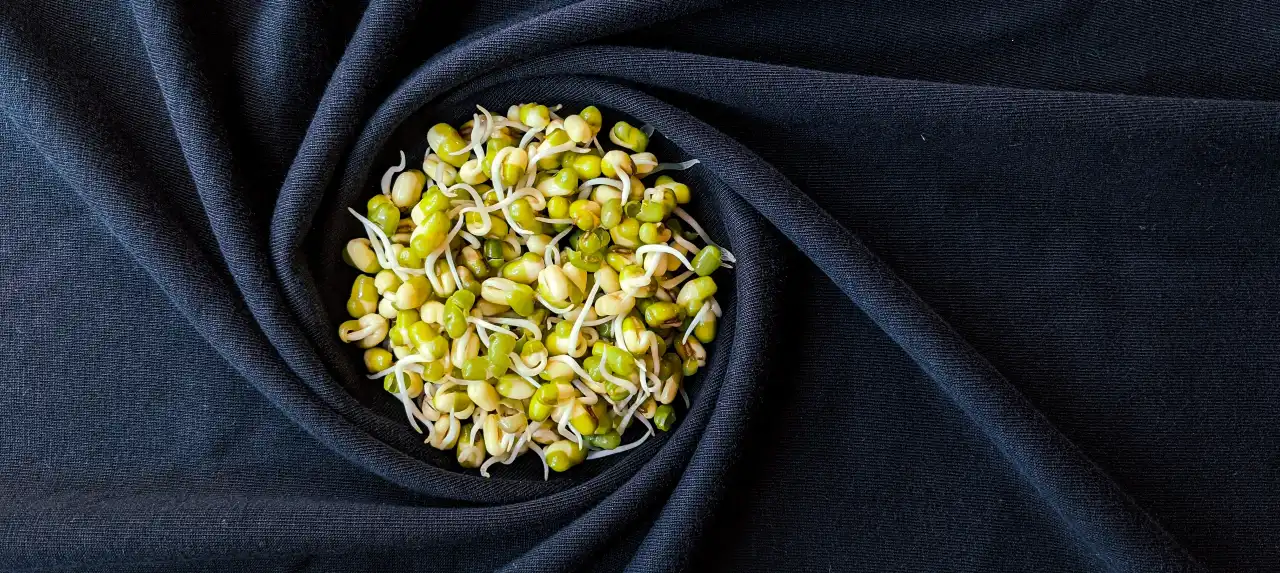
Different seeds have varying sprouting times, ranging from a few days to a couple of weeks. Refer to the specific guidelines for each seed variety to determine the ideal sprouting duration. As the sprouts grow, monitor their progress regularly. Harvest the sprouts when they reach the desired length and have developed their characteristic leaves. Gently remove the sprouts from the container, rinse them thoroughly to remove any seed coats or debris, and pat them dry before consuming or storing.
Troubleshooting Common Issues
While sprouting is generally a straightforward process, you may encounter some challenges along the way. Here are a few common issues and their solutions:
a. Mold or Bacterial Growth: Excess moisture and poor ventilation can lead to mold or bacterial growth. Ensure proper drainage and ventilation, and rinse the sprouts thoroughly to remove any excess moisture.
b. Seeds Not Sprouting: If your seeds fail to sprout, it may be due to poor seed quality or inadequate soaking. Ensure that you are using fresh, viable seeds specifically labeled for sprouting. Adjust the soaking time if necessary, and make sure the seeds are properly hydrated.
c. Wilting or Yellowing Sprouts: Wilting or yellowing sprouts may indicate inadequate or excessive moisture. Adjust the rinsing frequency or improve drainage to ensure the sprouts receive the right amount of moisture.
d. Off Odors: Foul odors coming from the sprouts can be a sign of spoilage or bacterial growth. Discard any sprouts that have an unpleasant smell and thoroughly clean your sprouting equipment before starting a new batch.
Additional Resources
To expand your knowledge on indoor sprouting and find more inspiration, here are some reputable online resources:
-
- SproutPeople (www.sproutpeople.org): This comprehensive website offers a wealth of information on sprouting, including detailed guides, troubleshooting tips, and a wide variety of sprouting seeds to choose from.
- The Sprout House (www.thesprout house.com): This website provides valuable resources for indoor sprouting, including step-by-step guides, nutritional information, and sprouting recipes.
- YouTube: Search for instructional videos such as “Indoor Sprouting: Tips and Techniques” by SproutHouse or “Successful Indoor Sprouting for Beginners” by GrowVeg to visually guide you through the indoor sprouting process.
Conclusion
Indoor sprouting is a rewarding and accessible way to grow fresh and nutritious sprouts at home. By choosing the right seeds, providing optimal growing conditions, and following proper techniques, you can successfully cultivate a constant supply of flavorful and nutrient-rich sprouts in your own kitchen. Experiment with different seed varieties, monitor their growth, and adapt your methods as you gain experience.
Remember to consult reputable sources and adjust the techniques to suit your specific circumstances. With practice, patience, and a little experimentation, you’ll become a confident and successful indoor sprouter.
Indoor sprouting offers numerous benefits, including the convenience of having fresh sprouts available year-round, the ability to control the quality and cleanliness of your sprouts, and the joy of witnessing the growth and transformation of the seeds into vibrant sprouts. Plus, sprouts are a versatile ingredient that can add texture, flavor, and nutritional value to a wide range of dishes, from salads and sandwiches to stir-fries and smoothies.
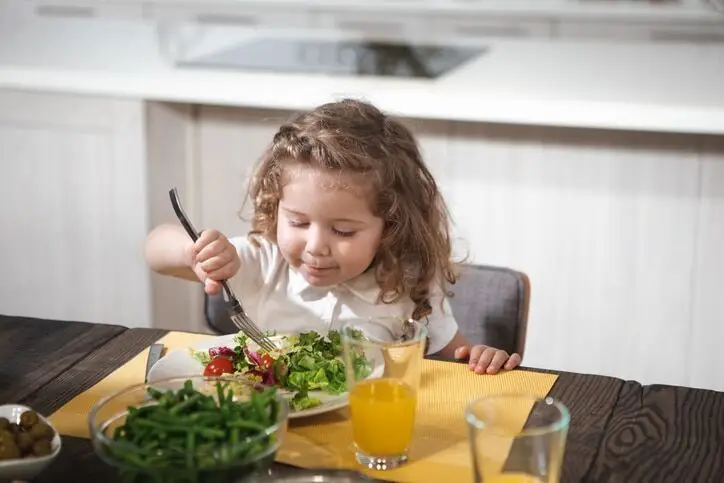
By incorporating sprouts into your diet, you’re adding a nutrient-dense source of vitamins, minerals, enzymes, and antioxidants. Sprouts are packed with beneficial compounds that support overall health and well-being, making them an excellent addition to any meal.
So, gather your seeds, prepare your sprouting containers, and embark on the rewarding journey of indoor sprouting. Experiment with different seeds, try new recipes, and enjoy the process of nurturing and growing your own fresh sprouts.
Remember to explore additional resources, such as reputable websites and instructional YouTube videos, to expand your knowledge and find inspiration. Each resource offers unique insights, tips, and techniques to help you become a skilled and successful indoor sprouter.
Enjoy the satisfaction of growing your own food and savor the vibrant flavors and nutritional benefits that sprouts bring to your culinary creations. Happy indoor sprouting!
References
- SproutPeople (www.sproutpeople.org)
- The Sprout House (www.thesprouthouse.com)
Please note that the provided references are not exhaustive, and it’s always recommended to explore additional sources for a comprehensive understanding of indoor sprouting techniques and practices.
Happy sprouting!
Disclaimer
The information provided in this article is for educational and informational purposes only and is not intended as medical advice. It is not a substitute for professional medical advice, diagnosis, or treatment. Always seek the advice of a qualified healthcare provider with any questions you may have regarding a medical condition. The author and publisher of this article are not responsible for any adverse effects or consequences resulting from the use of any suggestions, preparations, or procedures described in this article.