Growing Sprouts on a Budget: Seed Selection, Methods, and Tips for Success

Introduction
Sprouts are:
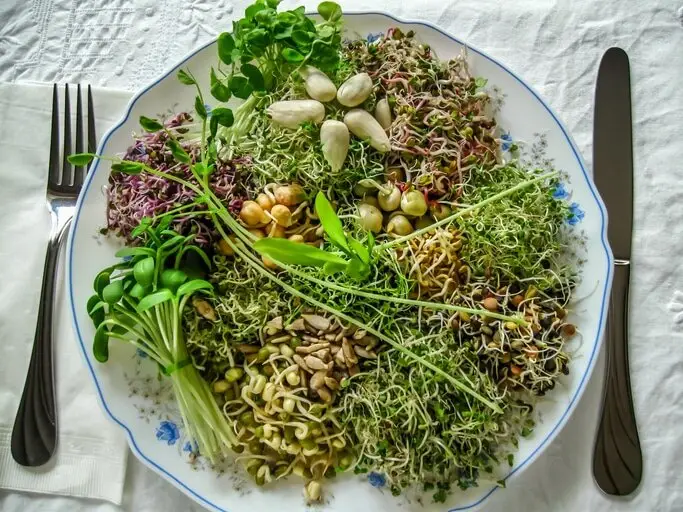
- An excellent addition to any diet.
- Providing a concentrated source of nutrients and a burst of flavour to salads.
- Sandwiches.
- Other dishes.
Growing your sprouts is cost-effective and allows you to enjoy them at their freshest. This article will provide options for growing sprouts cheaply and offer tips for effective sprouting, including seed selection and methods.
Seed Selection
- Look for organic, non-GMO seeds. To ensure you’re getting the healthiest and most nutritious sprouts, choose organic, non-GMO seeds. These seeds have not been treated with chemicals or genetically modified, making them safer and more sustainable. Many reputable seed suppliers offer a wide range of organic, non-GMO seeds, so you can find the perfect variety for your taste preferences and growing conditions.
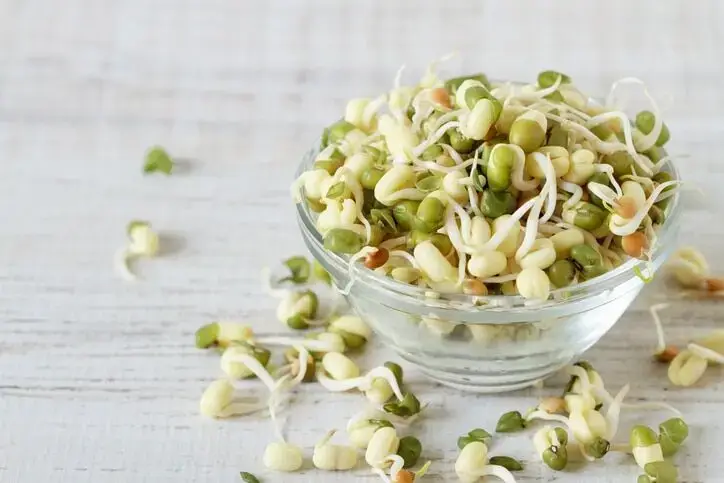
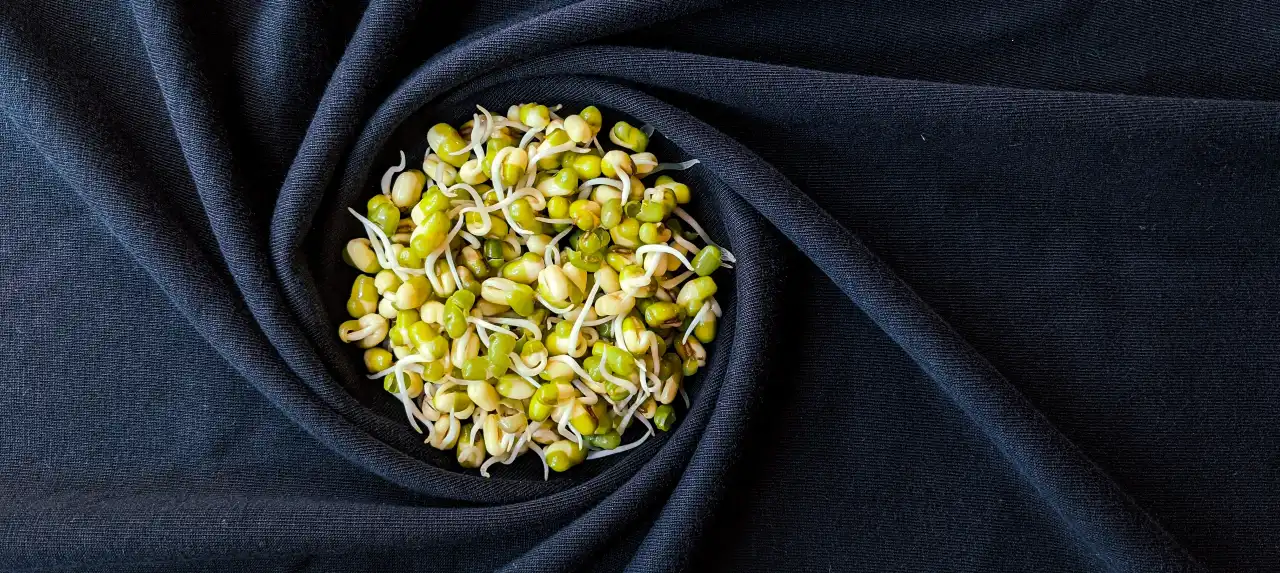
- Start with easy-to-grow varieties. If you’re new to sprouting, start with varieties that are easy to grow and have a high germination rate. Some beginner-friendly options include alfalfa, mung beans, and radish seeds. These sprouts are easy to grow and have a delicious taste and a pleasing crunch.
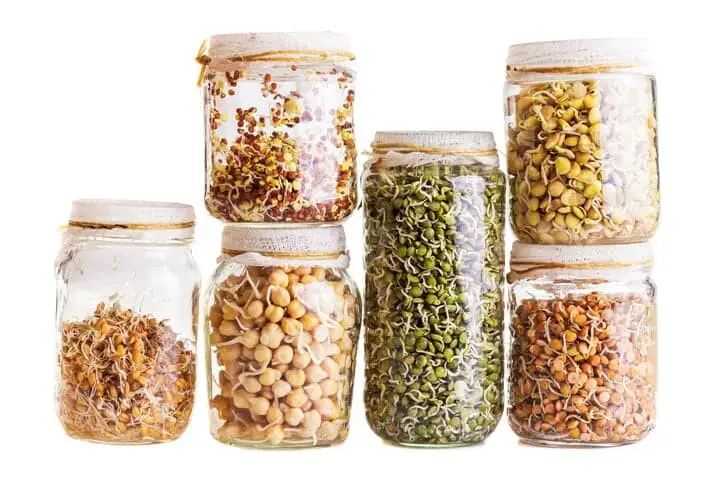
- Experiment with different seed types. Numerous types of seeds are suitable for sprouting, including legumes, grains, and vegetables. Feel free to experiment with other seeds to find your favourites. Some options include lentils, chickpeas, sunflower seeds, broccoli, and mustard seeds.
Methods for Growing Sprouts Cheaply
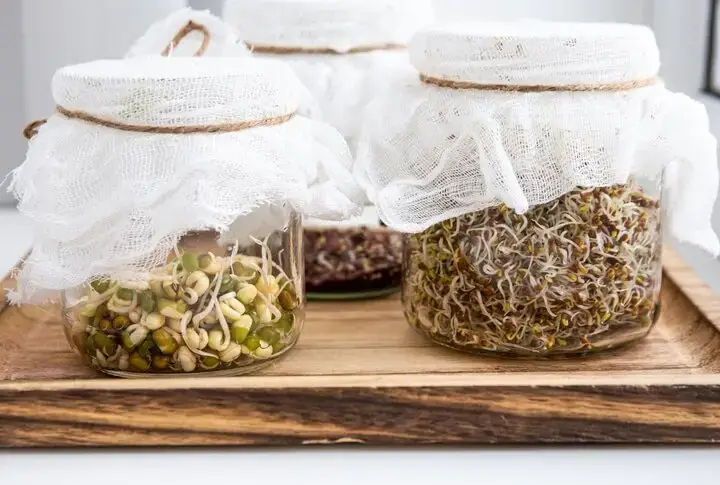
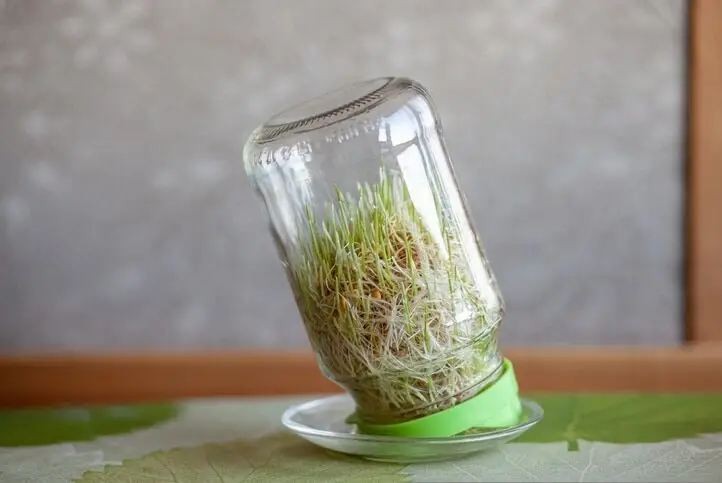
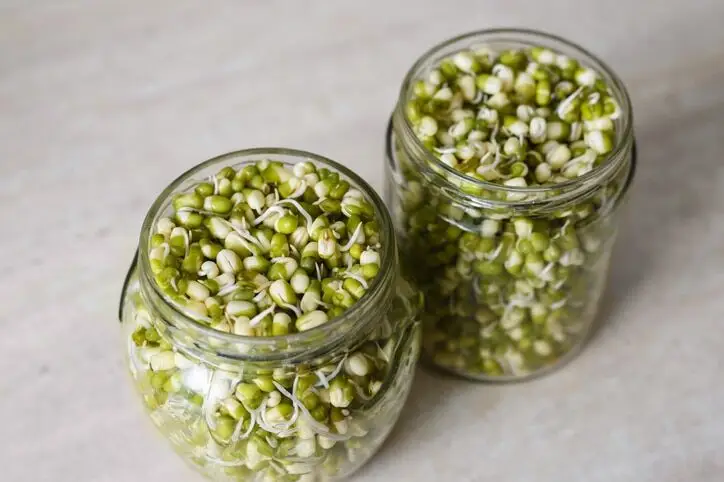
- Mason jar sprouting. One of the most popular and cost-effective ways to grow sprouts is using a mason jar. You only need a clean jar, seeds, and a mesh or cheesecloth secured with a rubber band. Add seeds to the jar, cover with water, and let them soak overnight. Drain the water the next day, and rinse the seeds twice daily until the sprouts reach the desired size. This method is ideal for small seeds like alfalfa, radish, and broccoli.
- Sprouting bags. Sprouting bags are another affordable option for growing sprouts. These reusable bags are typically made of breathable materials like hemp, cotton, or muslin. To use, place seeds in the bag, soak in water and hang to drain. Rinse and drain the seeds twice a day until your sprouts are ready. Sprouting bags work well for larger seeds like mung beans and chickpeas.
- DIY sprouting trays. You can easily make your sprouting trays using materials around the house, like plastic containers or baking trays. Just poke holes in the bottom for drainage and add a layer of wet paper towels or unbleached coffee filters. Spread seeds evenly across the surface and cover with another layer of damp material. Mist the seeds daily to keep them moist; they will begin sprouting within a few days.
- Soil-based sprouting. Growing sprouts in soil is another inexpensive method, especially if you already have a garden or access to a community garden. Fill a shallow tray with potting soil, and spread seeds evenly across the surface. Lightly cover the seeds with soil and water them gently. Keep the soil consistently moist, and you’ll see sprouts emerge within a few days.
Tips for Effective Sprout Growing
- Rinse seeds regularly. To prevent mould and bacteria growth, rinse your seeds twice daily during sprouting. This will also help to keep them moist, encouraging sprouting.
- Provide proper airflow. For mason jar sprouting, ensure that the mesh or cheesecloth covering the jar is breathable. If you’re using sprouting trays or bags, place them in a well-ventilated area to promote air circulation.
- Maintain a consistent temperature. Sprouts grow best in a temperature range of 65-75°F (18-24°C). Extreme temperatures can slow down germination or cause seeds to rot. Place your sprouting containers in a location with consistent temperatures, away from direct sunlight or drafty areas.
- Use clean containers and materials. Always use clean containers and materials to prevent contamination and ensure healthy sprout growth. Wash your hands before handling seeds and sprouts, and sanitise your sprouting containers and tools with a mild bleach solution or food-safe sanitiser.
- Monitor for mould and off-odours. Keep an eye on your sprouts during the growing process, and watch for signs of mould or off-odours. Mould can be harmful to consume, and off-odours can indicate bacterial growth. If you notice any issues, discard the affected sprouts and clean the container before starting a new batch.
- Harvest at the right time. Sprouts are typically ready to harvest within 3-7 days, depending on the variety. Harvest your sprouts when the leaves have just opened and are still small, as this is when they are the most tender and flavorful. To harvest, rinse the sprouts well and remove hulls or ungerminated seeds.
- Store sprouts properly. Once harvested, store your sprouts in a clean, airtight container in the refrigerator. Most sprouts will last for about a week if stored properly, but enjoying them as soon as possible is best to maximise their freshness and nutrient content.
Conclusion
Growing sprouts at home is an affordable and rewarding way to enjoy these nutrient-dense and flavorful meal additions. By following the tips in this article, including selecting the right seeds, using cost-effective sprouting methods, and ensuring proper growing conditions, you’ll be well on your way to enjoying a bountiful supply of fresh, delicious sprouts.
Disclaimer
The information provided in this article is for educational and informational purposes only and is not intended as medical advice. It is not a substitute for professional medical advice, diagnosis, or treatment. Always seek the advice of a qualified healthcare provider with any questions you may have regarding a medical condition. The author and publisher of this article are not responsible for any adverse effects or consequences resulting from the use of any suggestions, preparations, or procedures described in this article.